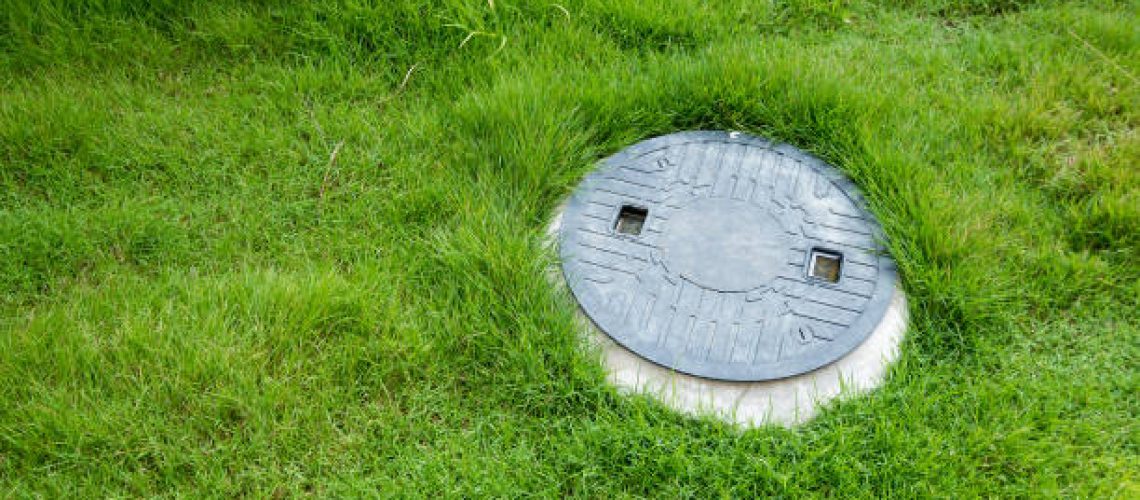
A septic tank cover keeps odors out of your sewage tank and prevents sewage from seeping into the ground. The septic system must be emptied and the tank disinfected every five years, thus the lid must be removed. Septic tank covers made of concrete must be changed if they develop cracks or other degradation. These are available online or at a local home improvement store. Risers allow the lids of many septic tanks to be seen above ground. Others are hidden beneath the ground surface and hence cannot be seen.
Before excavating to replace a cement septic cover, have the utility companies bring out and mark the location of power and water lines. This prevents you from harming yourself or causing other problems by cutting utility lines.
The septic tank lid may not be large, but it is one of the most important parts of the system. A faulty seal surrounding the entry will allow odors and foreign objects to enter the tank, potentially blocking the system. As a result, you’ll have to replace its cover on a regular basis.
Follow these directions to get this done properly:
1. Dig All The Way Down To The Septic Lid
With a spade shovel, dig around the concrete septic lid until you reach the septic tank’s lid. Septic tanks are usually 12 to 14 inches below the soil’s surface.
Excavate a 16-inch wide circle around the septic tank lid to give yourself more room to work when removing it. It’s also a good idea to dig 2 inches beyond the seam of the tank’s lid although if your lid is on a riser, there is no need.
2. Lift Off The Lid
Pry the top and lid of the septic tank apart with a pry bar.
Request that your helper keeps the lid’s latch in good working order.
Simply press down on the pry bar to lift one end of the concrete septic tank lid.
As for pulling the lid handle and sliding the top to the side, enlist help. If the lid is large and rectangular, repeat the prying-up approach on the opposite side. Lift the septic tank cover with the assistance of your helpers. Depending on the size of the lid, you may need to recruit the help of more than one person. Examine the seal on the top of the septic tank. When replacing the lid, if the seal has cracks or tears, replace it with a new one.
3. Measure The Lid
Determine the length and width of your septic tank entrance using anything like a measuring tape. Purchase a replacement sewer cover from Home Depot or another supplier based on your measurements. If your lid doesn’t arrive for a few days, either re-cover the septic tank with the old lid or tarp the tank opening.
4. Clean Off The Seal
Scrape the old seal from the top of the septic tank with a putty knife if necessary. For the most part, the seal will fall off in huge chunks. With a wire brush, remove any traces of the seal and lose concrete from the top of the tank hole.
5. Fit The New Lid In Place
While you lift one end of the new septic tank cover, your assistant should lift the other.
Carefully lower the concrete lid over a septic tank, ensuring that the seal between the tank and the lid is squeezed.
Bury the septic tank with earth if you had to dig to get to it.
You can remove PVC or polyethylene lids by yourself or with the help of an assistant, according to the manufacturer’s recommendations.
PVC septic tank lids are the easiest to install because bonding adheres to the lid rapidly, making it simple to attach to a tank. It’s also durable, and it lasts for a long time without any treatment.
Although the septic tank lid is small, it is an important component of the system. Odors and other things will be able to infiltrate the tanks through a poor seal covering the entry, potentially obstructing the mechanism.

